By Hunt Mercier
Trying something new is hard but it can result in a creative avenue to express oneself. The method of double exposure in photography is a road less traveled, especially when performing the technique in-camera.
This guide will help you learn how to create a double exposure in a digital camera without using Photoshop or any form of post-editing software. You should only be using post-editing software AFTER you’ve double exposed the image in-camera, to adjust highlights, color, B&W, etc.
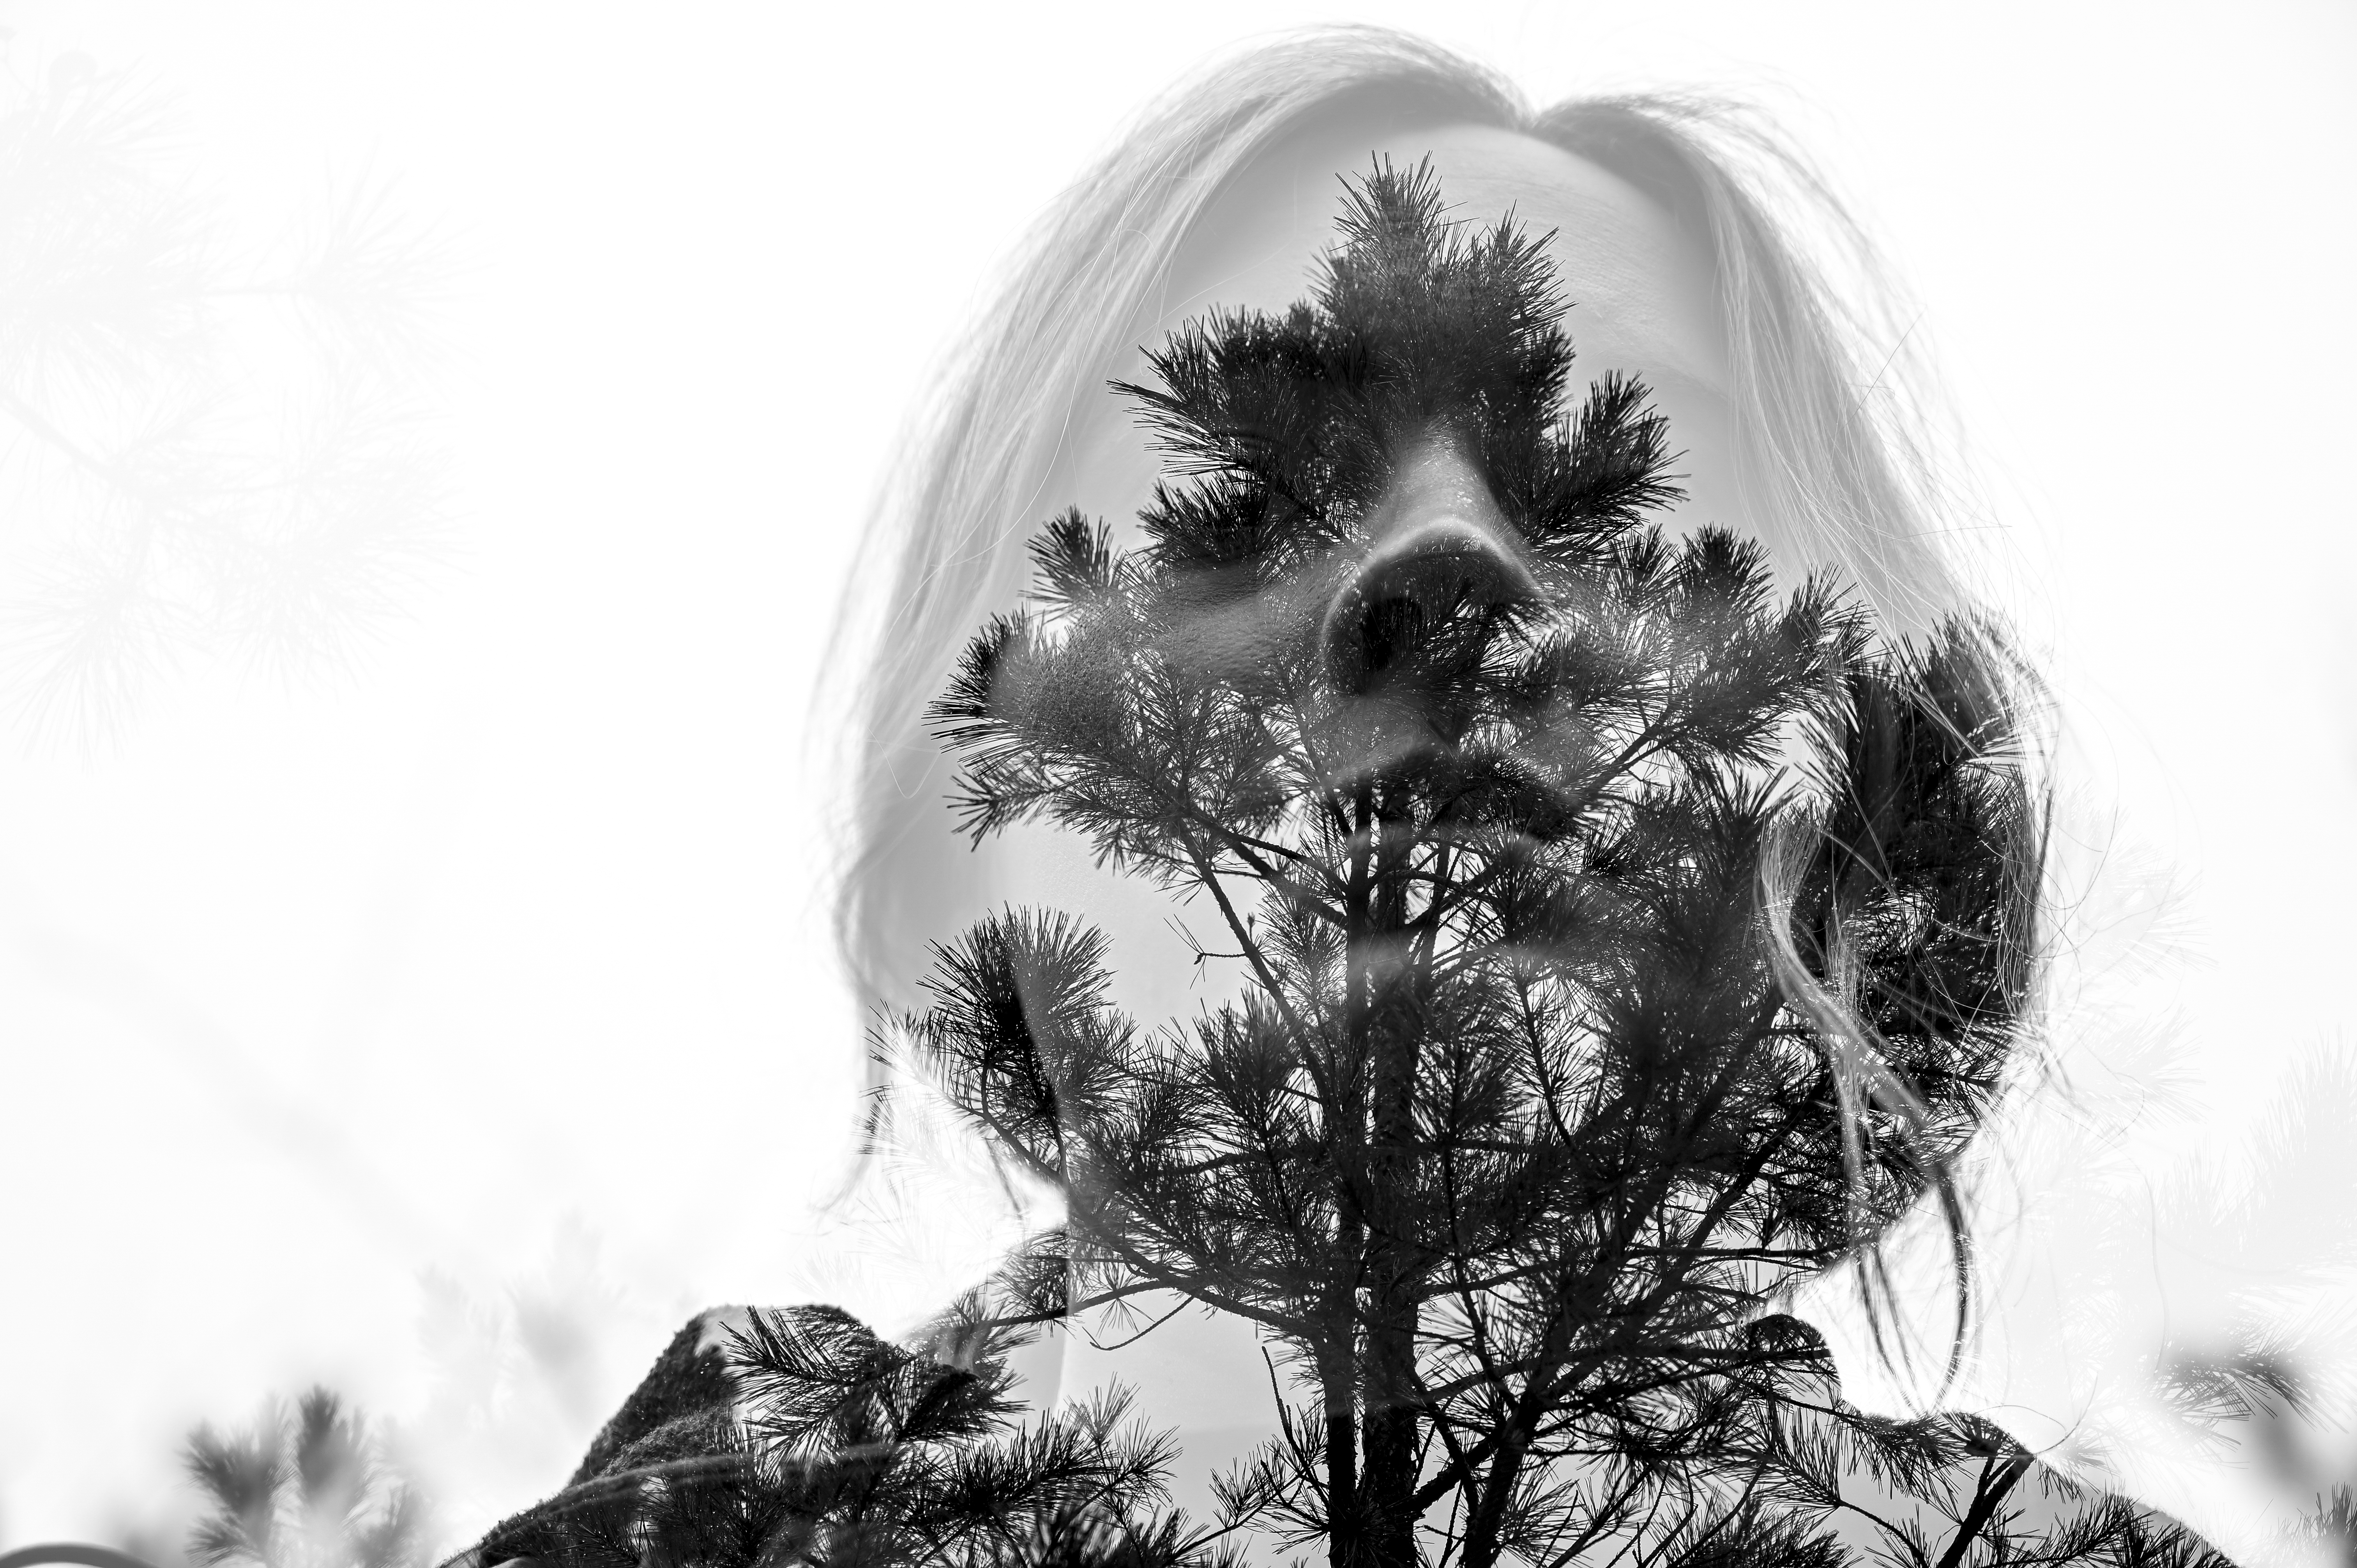
This is an in-camera double exposure of my wife while hiking along a trail at Petit Jean State Park in Arkansas. I used the overcast sky as my backdrop and underexposed her and a pine tree one stop each to create the final image.
As you can tell, the photo above has some areas to clean up, but I wanted to show you the immediate in-camera results without having to use software to create this effect.
I want to go back to when I first discovered this technique, when I was just starting out using film in college. Luckily I was able to work in a darkroom there, and I made a mistake. I’m sure this has happened to some of you. That day I forgot to move my film over and I accidentally exposed two images onto one frame. When I was fixing my film, I noticed that one particular frame looked a little bit odd so I showed it to my professor. He said, “Oh, did you try to do a double exposure?”
What is a double exposure?
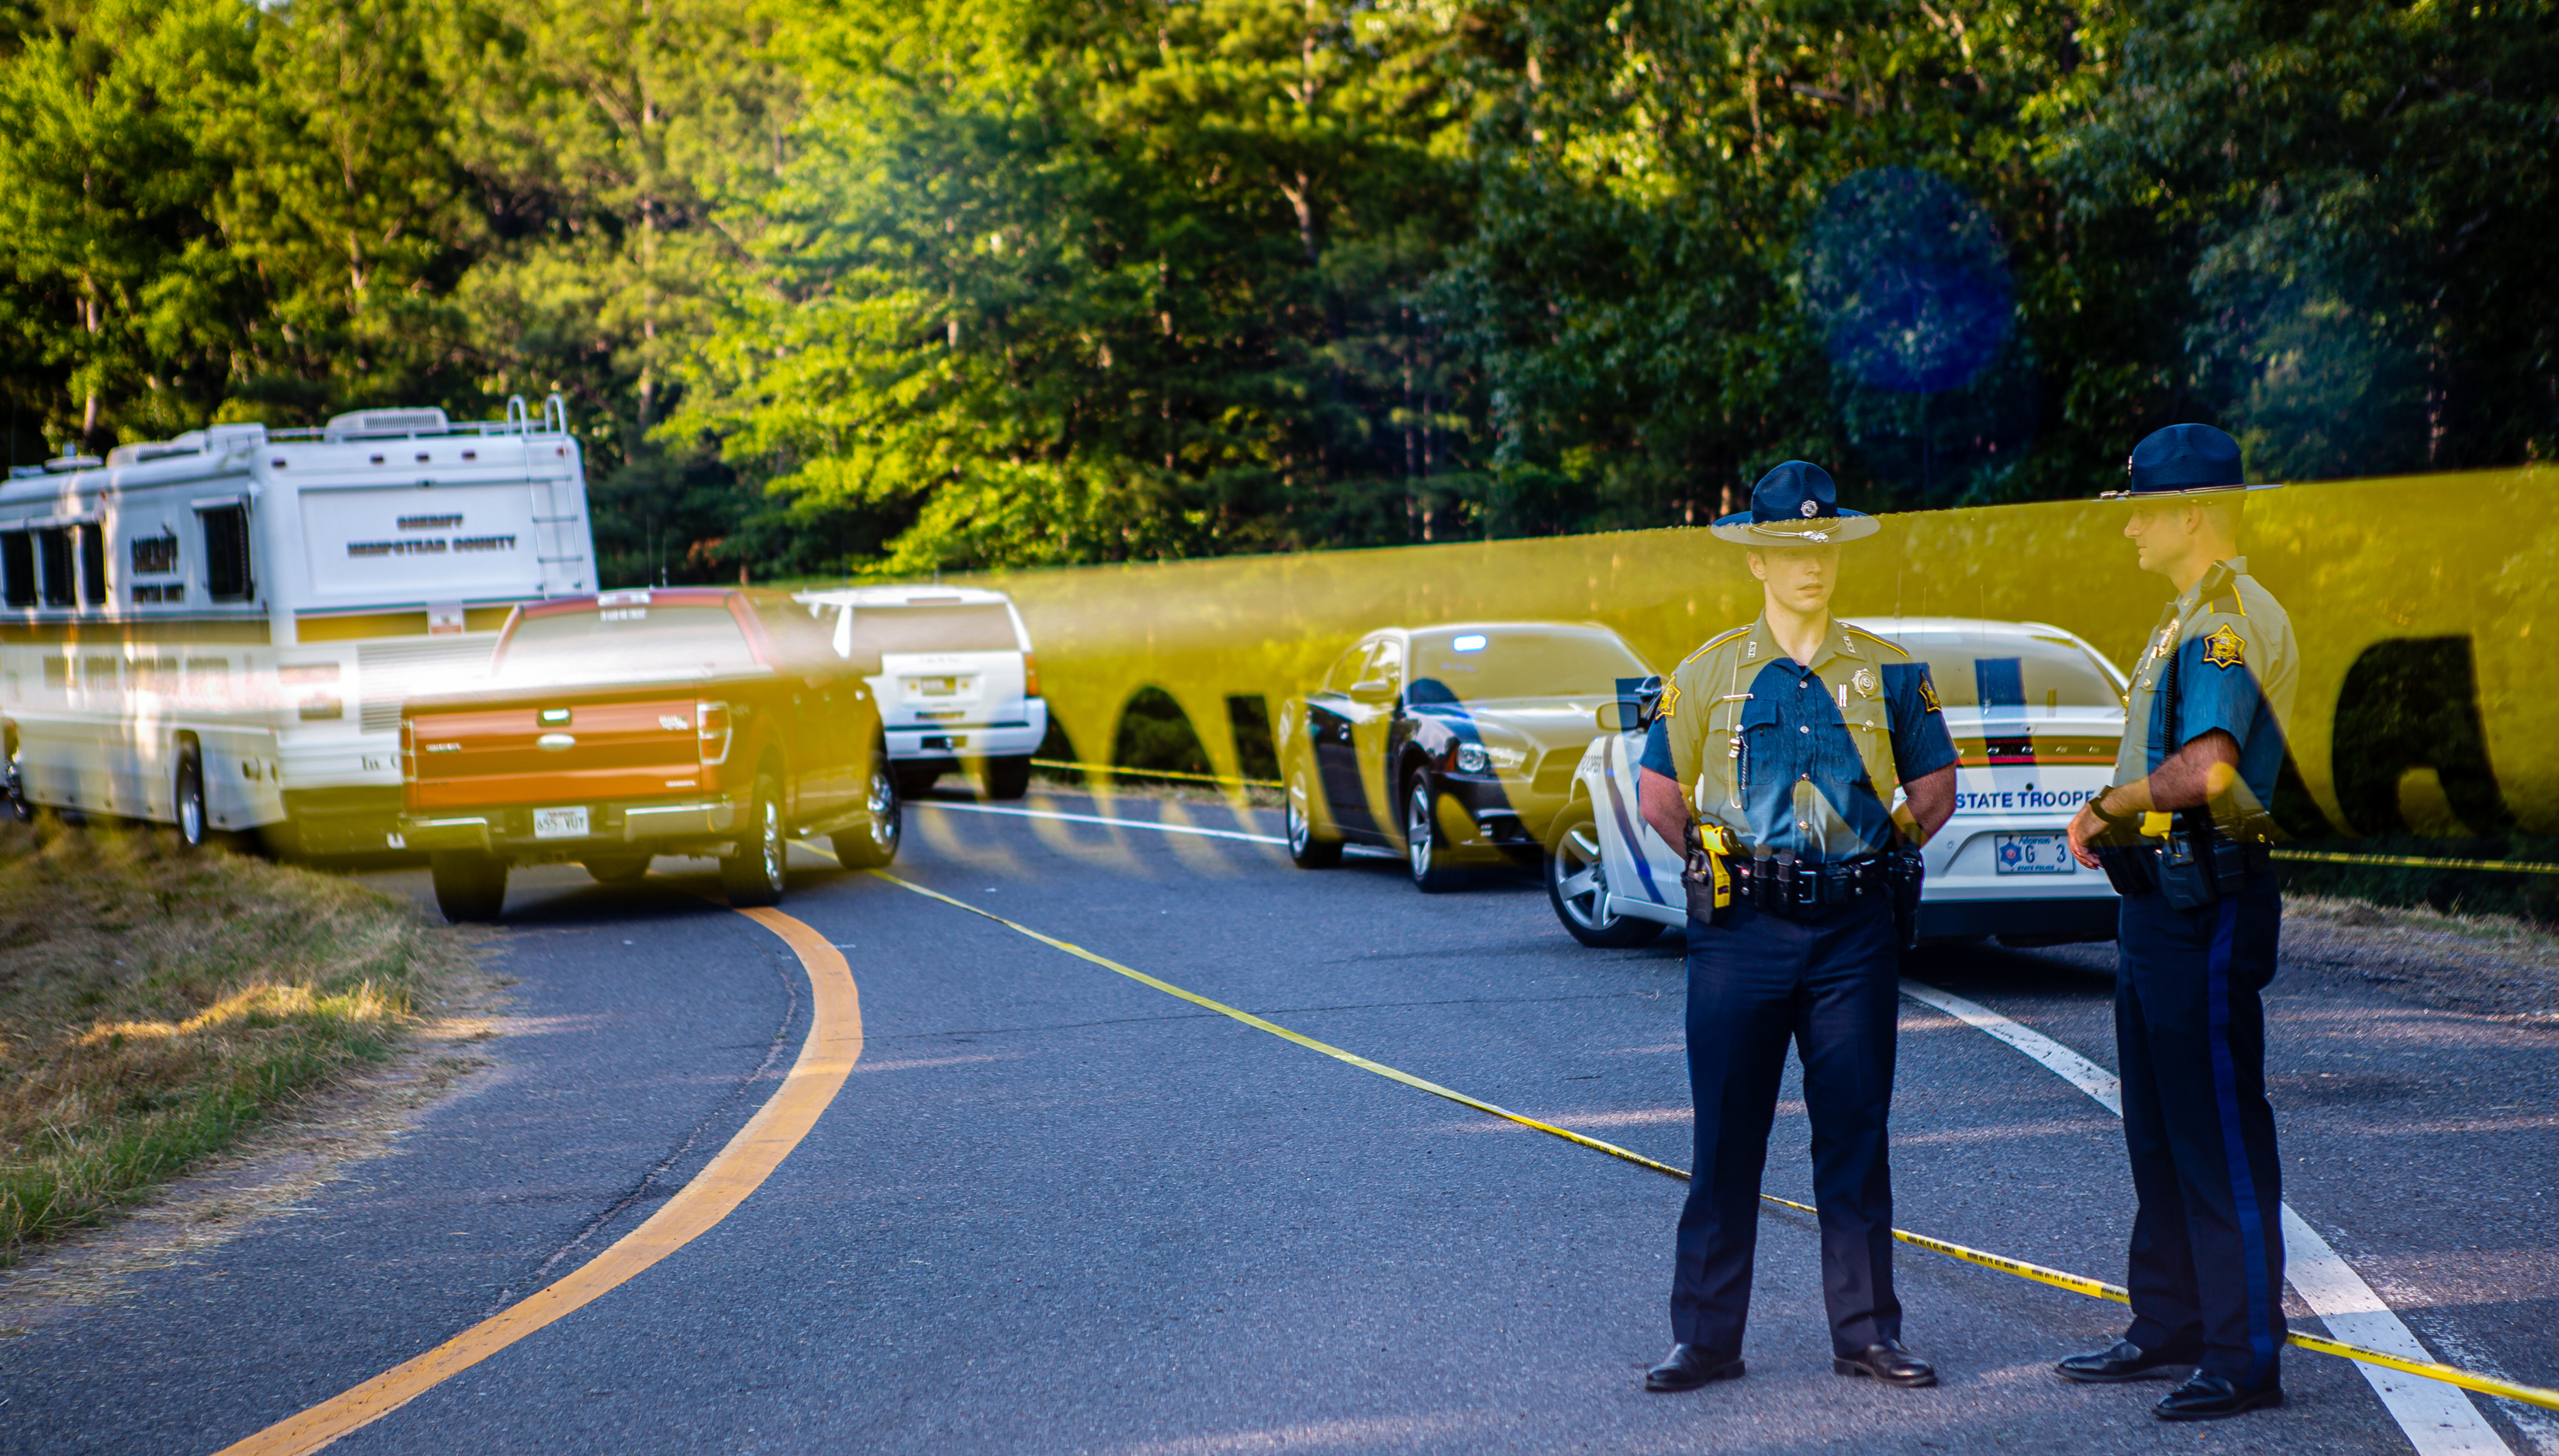
This is an in-camera double exposure of Arkansas State Police and the crime scene tape where the body of Maleah Davis was found near Interstate 30.
A double exposure is a frame exposed to light twice with two different subjects that layer on top of each other to create one image. Because you are exposing a frame twice to light, you need to cut your exposure down to equal a properly exposed image.
I believe the majority of digital cameras nowadays have this option built into them. To check to see if your camera can make a double exposure, dust off your manual that came with it, go to your table of contents and look for multiple exposures. I use a Nikon Z 6 and mine is under “The Photo Shooting Menu: Shooting Options.” If you lost your manual, it’s more than likely online.
Let’s put it to use
Now that you've found out how to turn on the multiple exposure option, there may be more options than just a double exposure, i.e. 3, 4, 5, 6, etc. Let’s stick with two exposures for simplicity’s sake. You can perform double exposures in JPEG or RAW so choose whatever you prefer to work with, unless your camera specifies RAW. Either will work fine.
I recommend initially photographing in black and white using a white background such as a white backdrop, overcast sky, white wall, etc. Why you might ask? Because high contrast double exposures will teach you how the highlights, whites, shadows and blacks are going to function when doing this technique. When highlights get blown out, all the data in that area of the image is gone. You have a much better chance of recovering data in the shadows and blacks of the image, which is key to a double exposure.
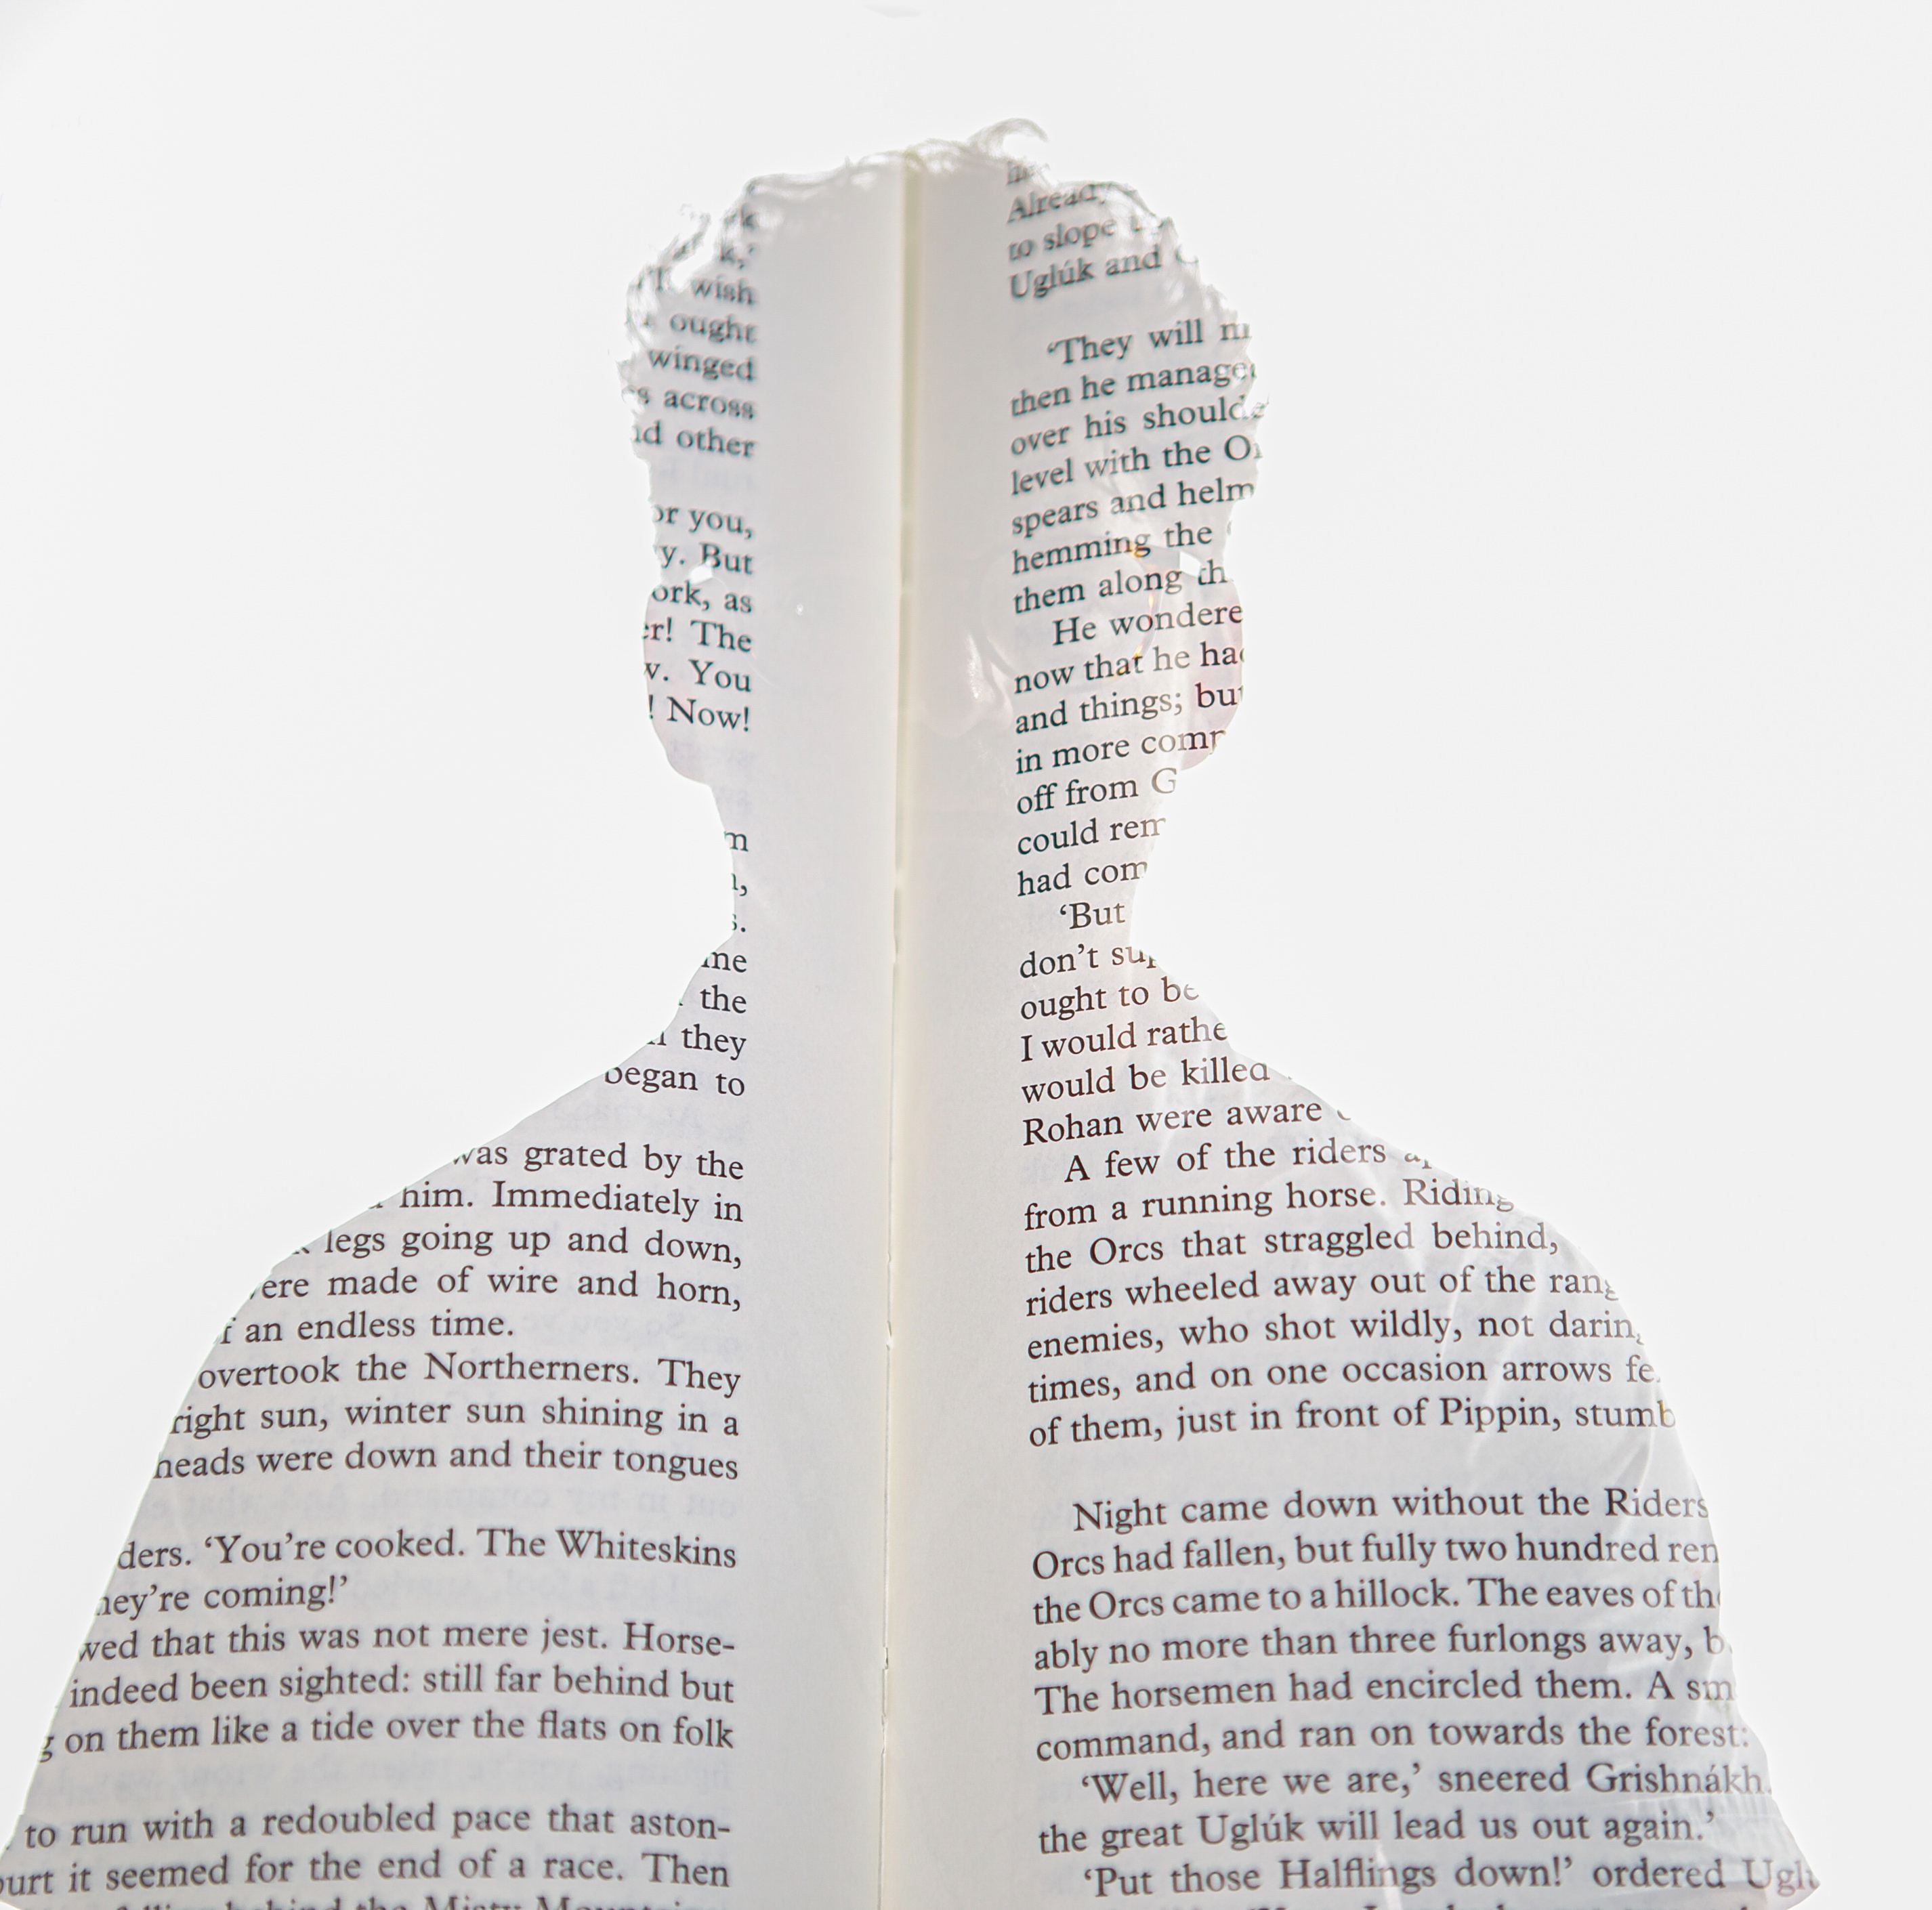
This is a double exposure of myself and a book I created for a photo illustration about summer reading in May 2019, Texarkana, Arkansas.
The image above is a self-portrait illustration I made for a story about the most popular books to read in summer. I was in a studio with lights. I blew out the background to silhouette myself. Then I took a photo of a book so that it would layer onto the darker area of my portrait where there was data, since the white background was lost.
With the white background lost and the subject silhouetted, you can easily expose your second image onto your first image to your desire. But how do you know if your composition is lining up correctly? After you’ve taken your first shot, it’s time to turn on your camera’s Live View option. You can view your first exposure on the rear LCD screen and use it to compose your second shot. Once your second shot is lined up, snap the picture and... you just made an in-camera double exposure. (Note - not all cameras allow multiple exposure shots using Live View.)
When working outside of a studio/controlled environment, I get the best results by underexposing by one stop on both images. When the images stack it will be properly exposed.
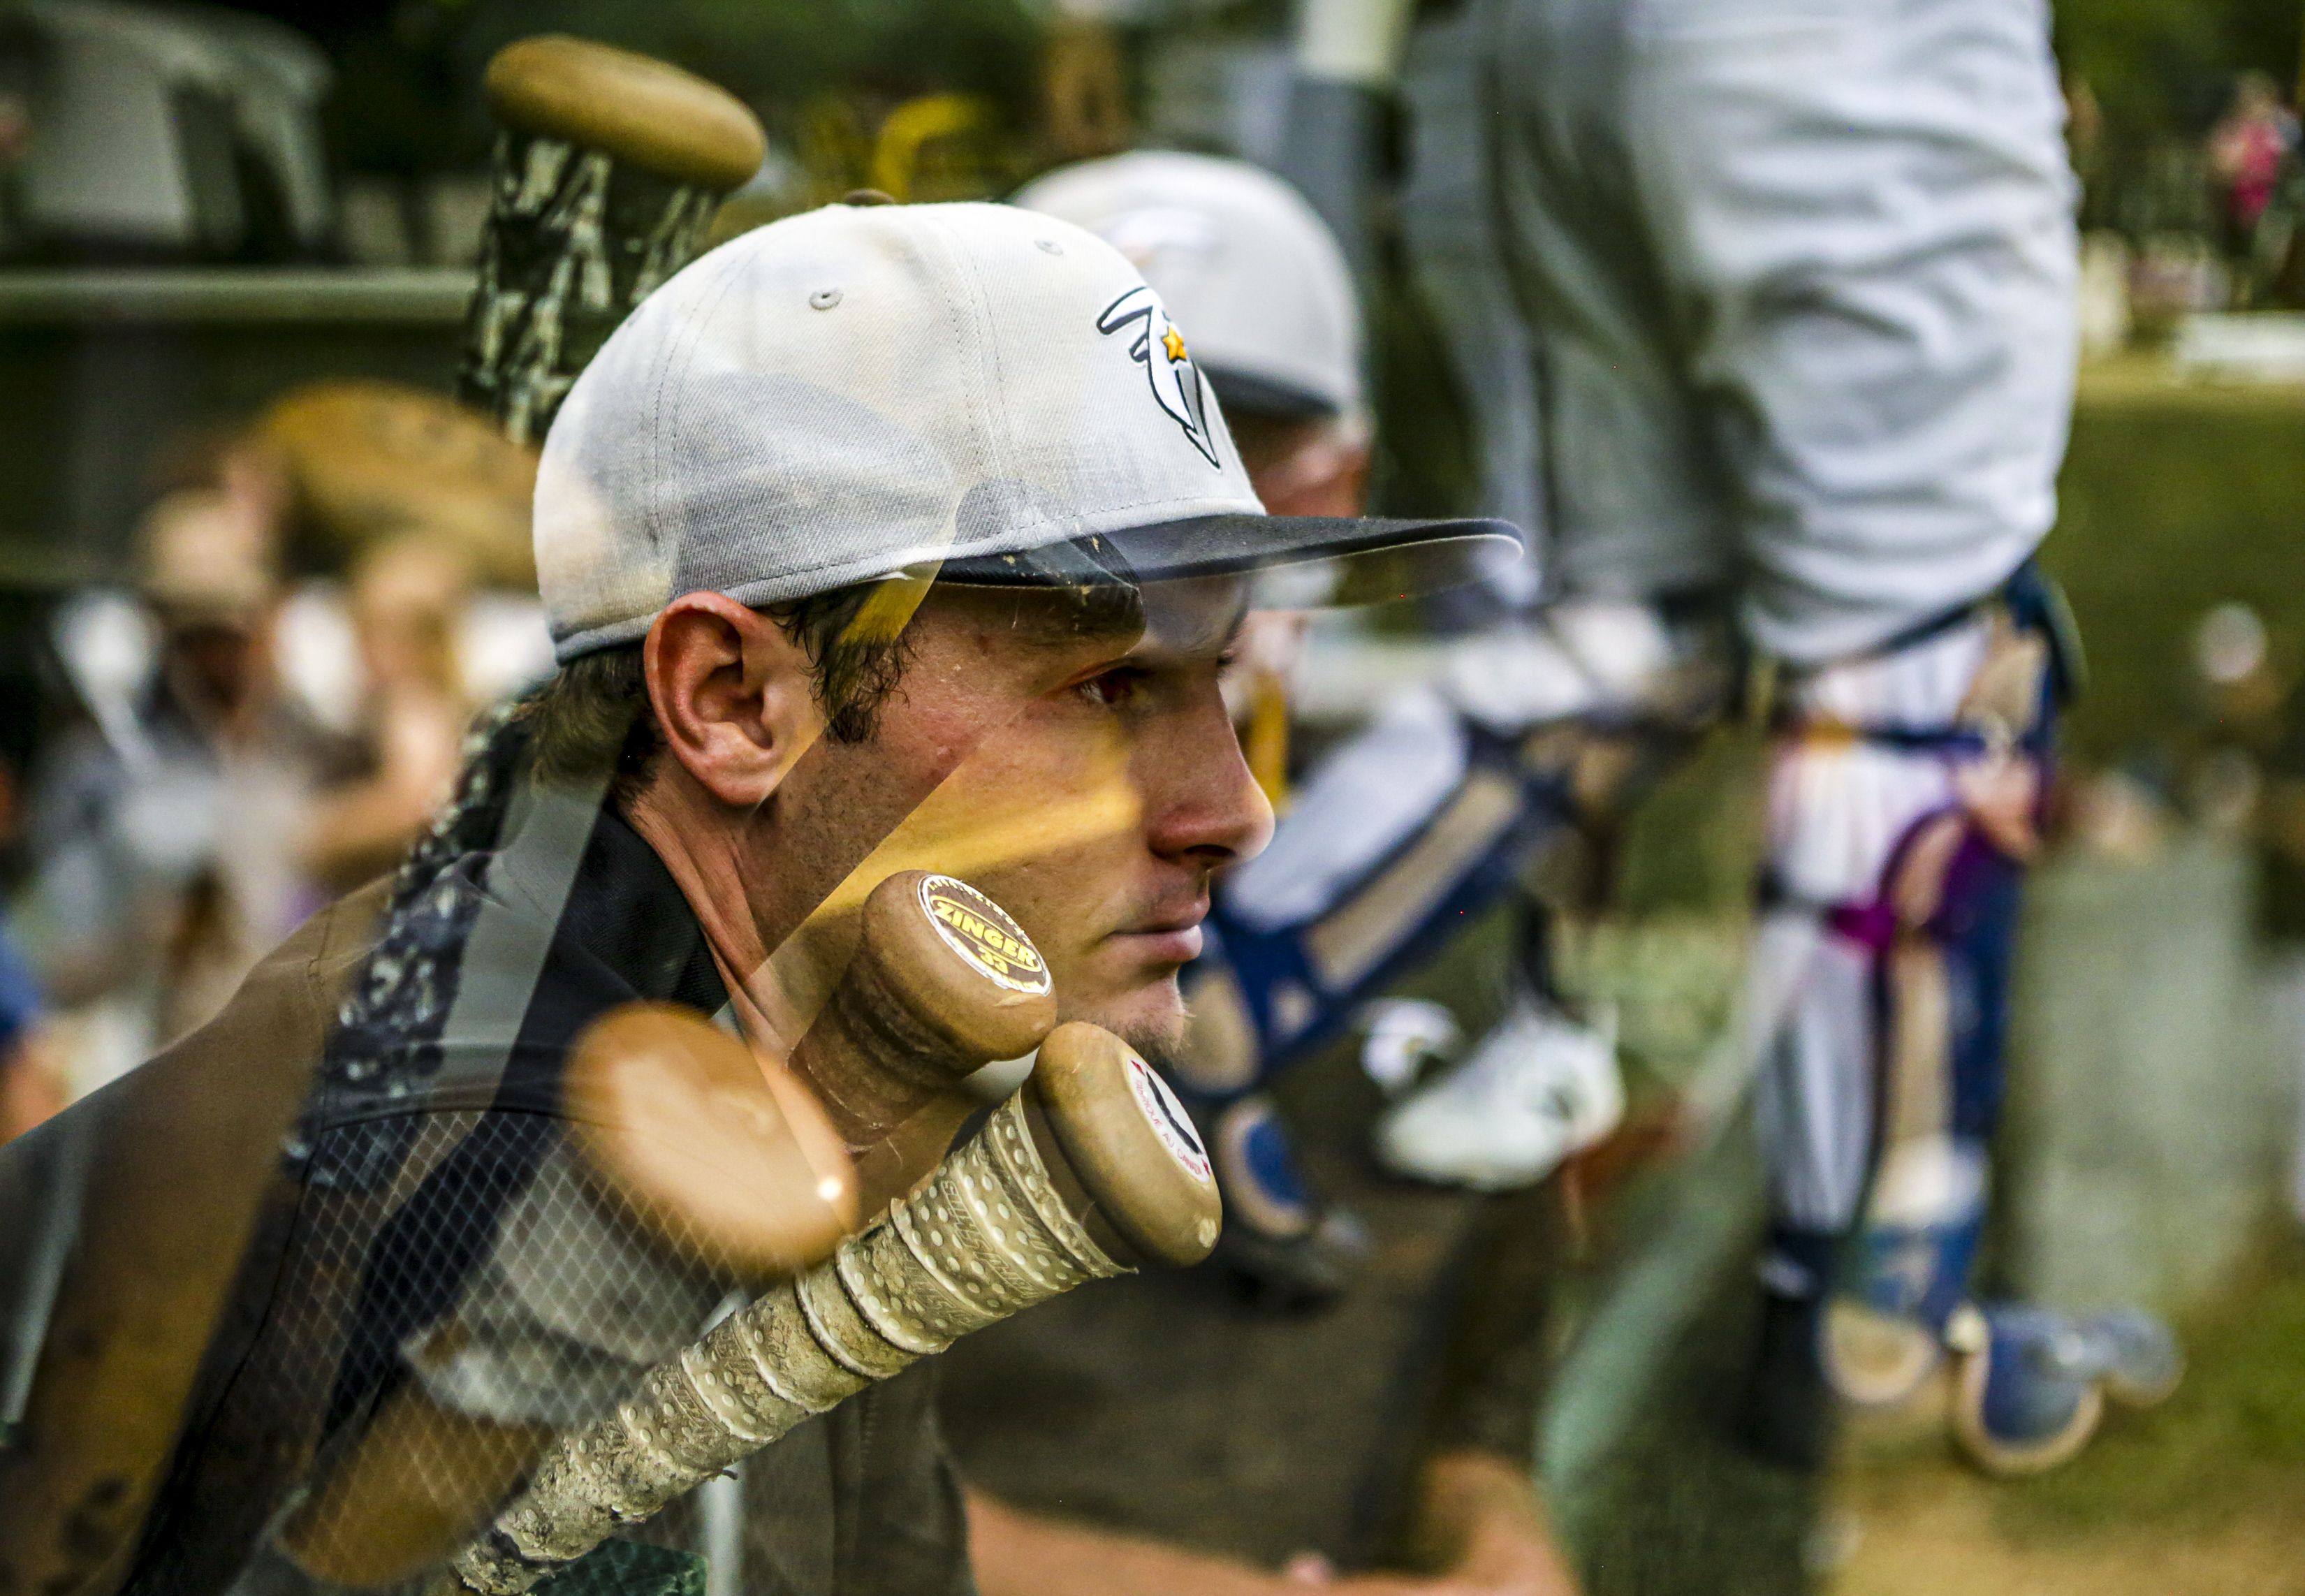
This is a double exposure of a Texarkana Twins baseball player watching the game with baseball bats stacked onto the first image.

Here is a multiple-exposure of six images made in-camera of a baseball player fouling a ball thrown from the pitcher.
Your options are endless on how you want to express the world around you with multiple exposures. Have fun with this technique and experiment with what you enjoy photographing. I hope this guide helps you and thank you for taking the time to read this.
Hunt Mercier is a photographer based in Texarkana, Texas. His work has been featured in multiple media outlets and he has won a multitude of awards. Mercier received his Journalism BA with an emphasis in Photojournalism from the University of Southern Mississippi. Mercier was the chief photographer for the daily newspaper, the Texarkana Gazette and HER Magazine covering general news, features, breaking news, portraits and sports. Mercier left the company to pursue his own business, Hunt Mercier Photography, to focus on his own projects.